


Expert guides, real stories, and evidence-based advice from women who have walked this path. Everything you need to make informed decisions about your fertility journey.
Learn everything about at-home insemination with our complete beginner guide. Step-by-step instructions, timing tips, and success strateg...
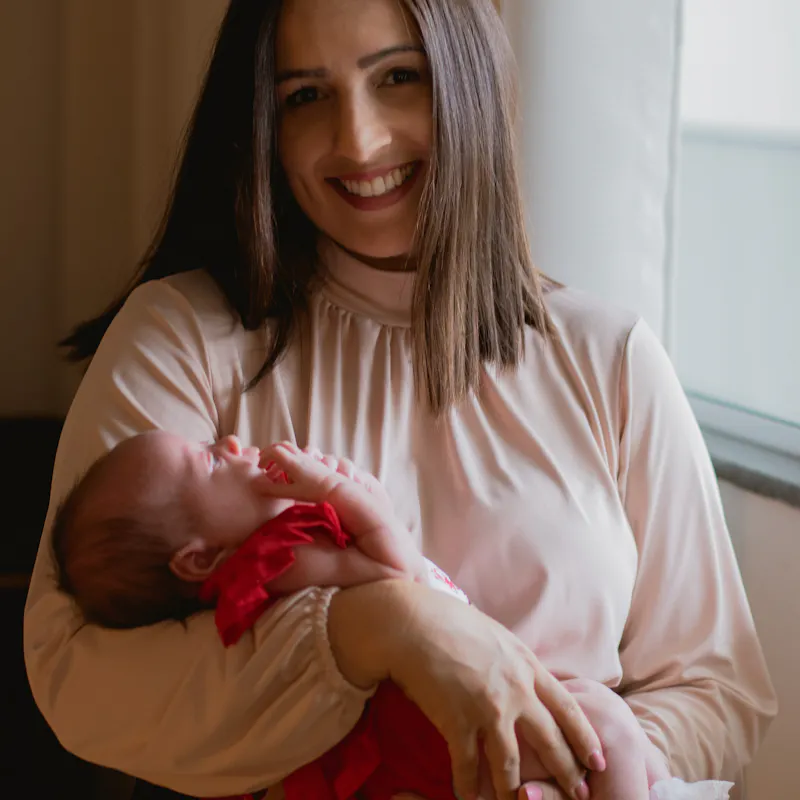
 Sarah Mitchell

Master your menstrual cycle to improve conception chances. Learn about each phase, hormonal changes, and how to identify your most fertil...
 Dr. Priya Anand

Navigate the process of choosing the right sperm donor with this comprehensive guide. Key factors to consider including genetics, health,...
Sarah Mitchell

Master intracervical insemination with this complete ICI guide. Step-by-step instructions, timing tips, and success strategies for home o...
Sarah Mitchell
Discover how CoQ10 supports fertility and egg quality. Evidence-based dosage recommendations, timing, and what the latest research shows ...
Dr. Priya Anand

Explore all fertility options available to lesbian couples. From at-home insemination to reciprocal IVF, find the path that fits your fam...
Dr. Priya Anand
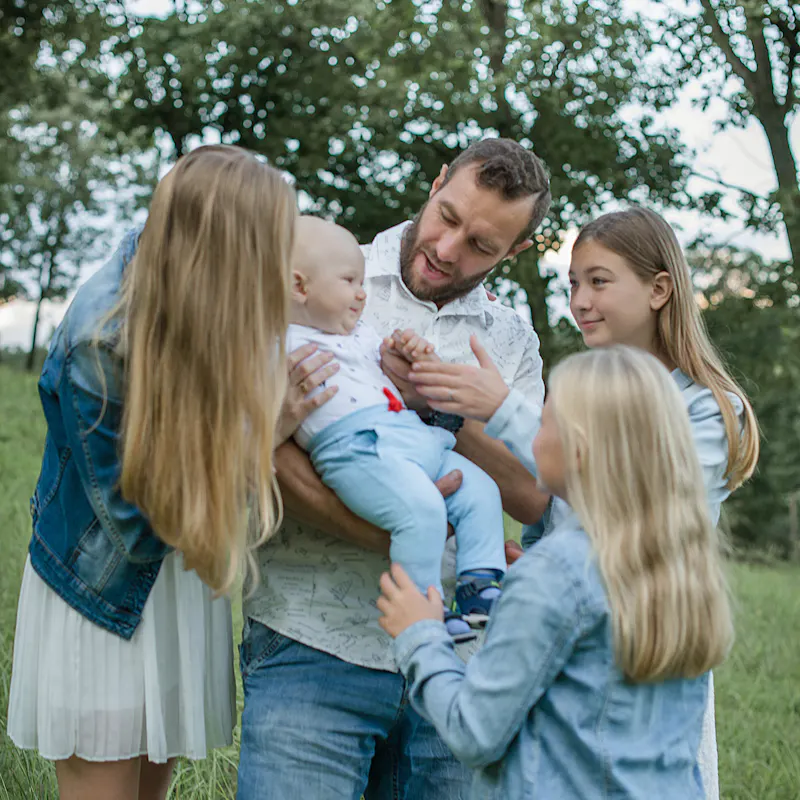
Everything you need to know about becoming a single mother by choice. From decision-making to conception to preparing for solo parenthood...
Sarah Mitchell

Your complete guide to getting pregnant after 35. Evidence-based advice on fertility, timing, testing, and treatment options for women ov...
Dr. Priya Anand

Explore every IVF alternative from IUI to at-home insemination to mini IVF. Compare costs, success rates, and find the right fertility pa...
 Jessica Torres

Get a detailed IVF cost breakdown for 2026 including medications, monitoring, procedures, and hidden fees. Budget accurately for your IVF...
Jessica Torres

Prepare for your at-home insemination with this comprehensive checklist. From supplies to timing, everything you need for a successful ex...
Sarah Mitchell

Compare five proven ovulation tracking methods including OPKs, BBT, and apps. Find the best tracking approach for your conception journey.
Dr. Priya Anand

An honest, detailed comparison of MakeAMom, Mosie Baby, and PherDal at-home insemination kits. Compare price, reusability, FDA status, and which kit fits your situation.
Sarah Mitchell

The complete guide to at-home insemination for single mothers by choice. Choosing donor sperm, which kit to use, how to inseminate solo, legal considerations, and emotional preparation.
Sarah Mitchell

The complete at-home insemination guide for lesbian and same-sex female couples. Choosing donor sperm, which kit to use, step-by-step process, legal basics, and emotional preparation.
Sarah Mitchell

Detailed data on at-home insemination success rates by age group. Understand per-cycle ICI rates for women under 30 through 40+, and learn how many cycles to plan for.
Dr. Priya Anand

Choosing the right at-home insemination kit for donor sperm. Learn the difference between ICI-ready and IUI-ready sperm, how to thaw frozen vials, and why CryoBaby is built for donor sperm.
Sarah Mitchell
Avoid these 7 common at-home insemination mistakes that can reduce your success rate. Expert tips on timing, lubrication, kit selection, and technique.
Sarah Mitchell
How many cycles of at-home insemination should you try before seeing a fertility doctor? Age-based guidelines, what to track between attempts, and questions to ask at your first appointment.
Dr. Priya Anand
A complete at-home insemination guide for lesbian couples and two-mom families. Donor selection, kit choice, reciprocal IVF comparison, legal considerations, and success rates.
Dr. Priya Anand
How to do at-home insemination with vaginismus. Why standard kits can be painful, how BabyMaker's design addresses vaginismus, and preparation tips for a more comfortable experience.
Sarah Mitchell
ICI-ready vs. IUI-ready sperm explained. Can you use washed sperm at home? What to order from a sperm bank for home insemination, and how your choice affects kit selection.
Dr. Priya Anand
The complete guide to positioning during and after at-home insemination. Which positions maximize sperm delivery, how long to rest afterward, and evidence-based tips for each step.
Sarah Mitchell

How MakeAMom ships at-home insemination kits in plain, unmarked packaging with no identifying information. Why privacy matters for fertility purchases and what to expect with your order.
Sarah Mitchell
Find out if at-home insemination kits are FSA or HSA eligible. Learn how to pay for MakeAMom kits with your flex spending account and what documentation you may need.
Jessica Torres
Recursos de inseminación en casa para hispanohablantes
Instrucciones paso a paso, tasas de éxito, cómo elegir el kit correcto y consejos para maximizar tus probabilidades de concebir desde casa.
Dra. Priya Anand
Diferencia entre ICI e IUI ready, cómo descongelar esperma, qué kit elegir y cómo funcionan los bancos de esperma en Latinoamérica y España.
Sarah Mitchell
Datos reales por grupo de edad, factores que afectan el resultado, cuántos ciclos esperar y cuándo consultar a un especialista en fertilidad.
Dra. Priya Anand
Los 7 errores más frecuentes que reducen las probabilidades de éxito en la inseminación artificial en casa y cómo evitar cada uno de ellos.
Sarah Mitchell
Cómo elegir banco de esperma, procedimiento en solitario, consideraciones legales y preparación emocional para México, España, Argentina y Colombia.
Sarah Mitchell
Guía para parejas lésbicas: quién lleva el embarazo, cómo elegir esperma de donante, marco legal y comparación con FIV recíproca.
Dra. Priya Anand
Qué significa la baja motilidad espermática y cómo puede ayudar el kit Impregnator de MakeAMom. Causas, opciones de tratamiento y pasos para la inseminación en casa.
Dra. Priya Anand

Guía basada en edad para saber cuántos intentos de inseminación en casa hacer antes de consultar a un especialista en fertilidad. Señales de alerta y qué preguntar al médico.
Dra. Priya Anand
Inseminación en casa para mujeres con vaginismo o sensibilidad pélvica. Por qué el BabyMaker de MakeAMom está diseñado para esta condición y cómo prepararte.
Sarah Mitchell
Comparación honesta y detallada entre MakeAMom y Mosie Baby: costos, ventajas, aprobación FDA, diseño específico por condición y cuál es mejor para ti.
Sarah Mitchell
Recursos de inseminação em casa para falantes de português
Instruções passo a passo, taxas de sucesso e como escolher o kit certo para maximizar suas chances de conceber.

Como escolher o kit certo para usar com esperma de doador — banco certificado, considerações legais no Brasil e dicas de sucesso.
O que esperar por ciclo: taxas de sucesso por idade, quantas tentativas são normais e como a ICI em casa se compara à IUI clínica.

Erros de timing, produtos inadequados, temperatura e estresse — como identificar e evitar as armadilhas mais frequentes.

Guia completo para mulheres que escolhem a maternidade solo no Brasil: marco legal, bancos de esperma e como usar um kit em casa.

Tudo sobre inseminação lésbica em casa no Brasil: escolha do doador, direitos legais e qual kit usar para o seu caso.

O Kit Impregnator foi criado especificamente para baixa motilidade. Entenda como funciona e se é o certo para o seu caso.
Comparação honesta: preço, design, reutilização, taxas de sucesso e o que mulheres brasileiras devem considerar ao escolher.
Quantos ciclos tentar em casa antes de buscar ajuda médica? Guia por faixa etária e sinais de alerta que não devem ser ignorados.
Entenda quantos ciclos são esperados antes de uma gravidez, como melhorar suas chances a cada tentativa e quando escalar para clínica.
Como o Kit BabyMaker torna a inseminação possível e confortável para mulheres com vaginismo, sem necessidade de penetração.